Kaltura Help Guide
Finding MyMedia in Moodle
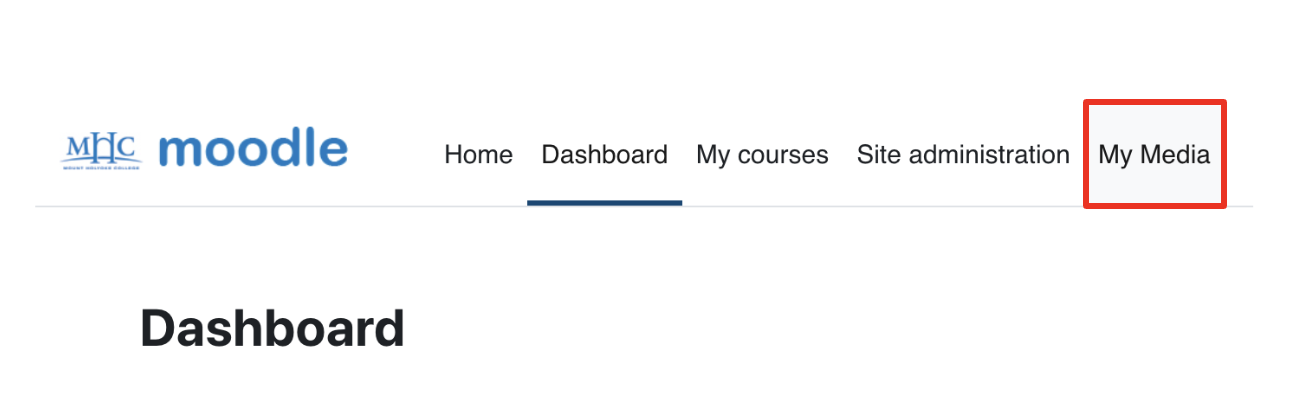
In Moodle, use the My Media tab at the top of any page to view the videos you have saved in Kaltura, or create or upload new ones.
When you have finished creating and uploading a video to My Media, you then place it into your Moodle course for your students to view. You have a couple of options on how to do this, depending on how you would like your students to interact with the video. You can find out more information in the Kaltura Videos in Moodle page of this guide.
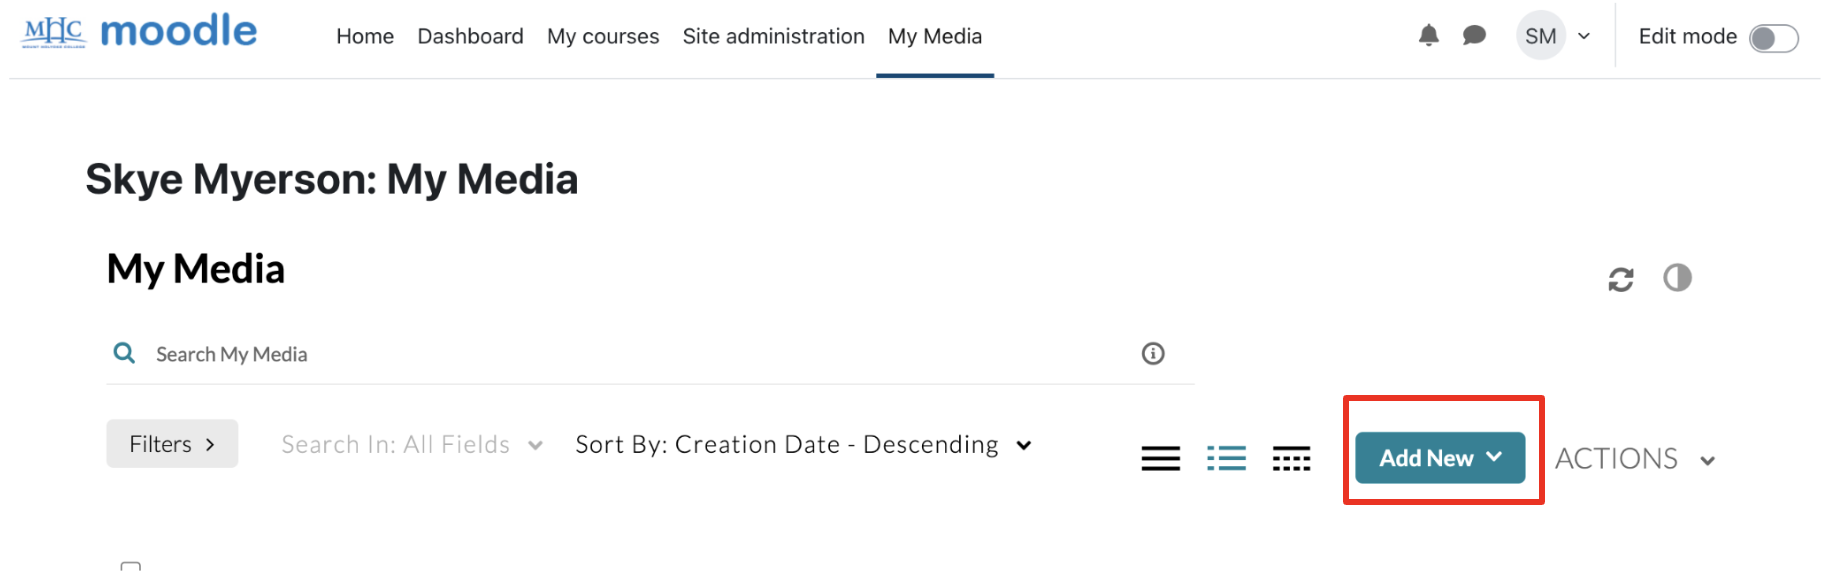
Your My Media area will display a list of all your Kaltura videos. You will also see a button that says "Add New". You can also click on a video's title to see further details about that video, or use the pencil icon to edit it.
Please see the boxes below for the different options for creating and uploading your videos.
You are also welcome to review this recording of our faculty training, for a step-by-step walkthrough of the various methods and further information.
Adding Videos with Media Upload
Use the Media Upload option if:
- You have already made a video and saved it to your computer
- You have a video downloaded from last term or previous course iterations of the course that you've taught
Under "Add New" click on Media Upload. On the next page, you can either drag and drop your video file, or click "Choose a File to Upload" to browse your computer.
Your file may take a few minutes to upload, depending on the length, and you will notice that the file loads in bursts. You can add a title and description while you wait for it to load. Be sure to click Save when you're done!
Creating Videos with Express Capture
Express capture is a lightweight video recording tool. It operates directly in your browser.
Use Express Capture if:
- You want to record quick feedback for a student
- You want to record a quick video note for your class
- You don't need to capture the contents of your computer screen.
Under "Add New", click on Express Capture.
You'll see a preview of the visual your camera is capturing. Use the gear icon in the upper right corner of the screen to adjust which camera and microphone are being used.

To start recording in Express Capture, click the big red button. You'll see a countdown from 3 before the recording starts.
When you stop recording, Express Capture will play the recording back for you. From here, save the recording you made by clicking "Use This." You also have the option to choose to "Record Again", or to "Download a Copy".
Creating Videos with Kaltura Capture
Kaltura Desktop Recorder is a recording application that you must first install on your computer. The first time you click on Kaltura Capture, if you have not installed it yet, you will be prompted to download and install the application.
Use Kaltura Capture if:
- You want to record visuals from your screen
- You want to record from multiple sources (webcam and screen, etc.)
- You want to add annotations using Kaltura Capture
Under "Add New", click Kaltura Capture. You may see a prompt from your browser asking if you would like to open Kaltura Capture; make sure you choose "Open". You will see the Kaltura Capture control panel open up.

Use the menus to set up your input sources for video and audio. When you're ready to record, click the round red "Record" button at the left.
The Kaltura Capture panel will now look like the image below, with a stop button, a pause button, a discard (x) button, a timer, a mic level, and an annotation button. It will appear on top of whatever else is on your screen, but not be captured in the final recording.

Clicking the annotation button will allow you to select a pen tool and make annotations on your screen.

When you're done recording, click the square stop button.
The Kaltura Capture application will display a preview of your recording for you. Give your recording a name, and add any additional information that you would like, then click "Save and Upload". Kaltura Capture will automatically upload the video into your My Media in Moodle.
Adding YouTube Videos
You can also add public YouTube videos to your My Media library in Kaltura.
Use the YouTube feature to:
- facilitate global access.
- give your students an uncluttered view
- closely integrate with your course materials
Find your desired video on YouTube and copy the URL.
In My Media, under "Add New", choose YouTube.
Paste the the URL to your video into the box, and click Preview.
Edit any details that you would like to change, and click "Save".
Zoom Recordings
Now that we have Kaltura, any Zoom recording to the Cloud will automatically show up in Kaltura after the meeting and recording are done, and the media has had time to be transferred. This can take a few hours for longer recordings, and is faster for shorter ones.
To record your meeting, you need to be the Host. Once you have joined your Zoom meeting, there will be a Record button in the toolbar at the bottom of your screen. Click Record, and then choose "Record to the Cloud."
Please be aware that due to space limitations, and because all Zoom Cloud recordings are being sent to the Kaltura MediaSpace, we regularly delete meeting recordings from the Zoom Cloud after some weeks.